Recently, I bought a HiFiBerry DAC2 HD and a compatible steel case.
Although the assembly guide for the case is quite decent, I made a couple of changes and I thought I’d share my version.
Prerequisites
You are going to need the following parts to complete this guide:
- Raspberry Pi 4 (I used a 4 GB model)
- HiFiBerry DAC2 HD (or any other DAC2)
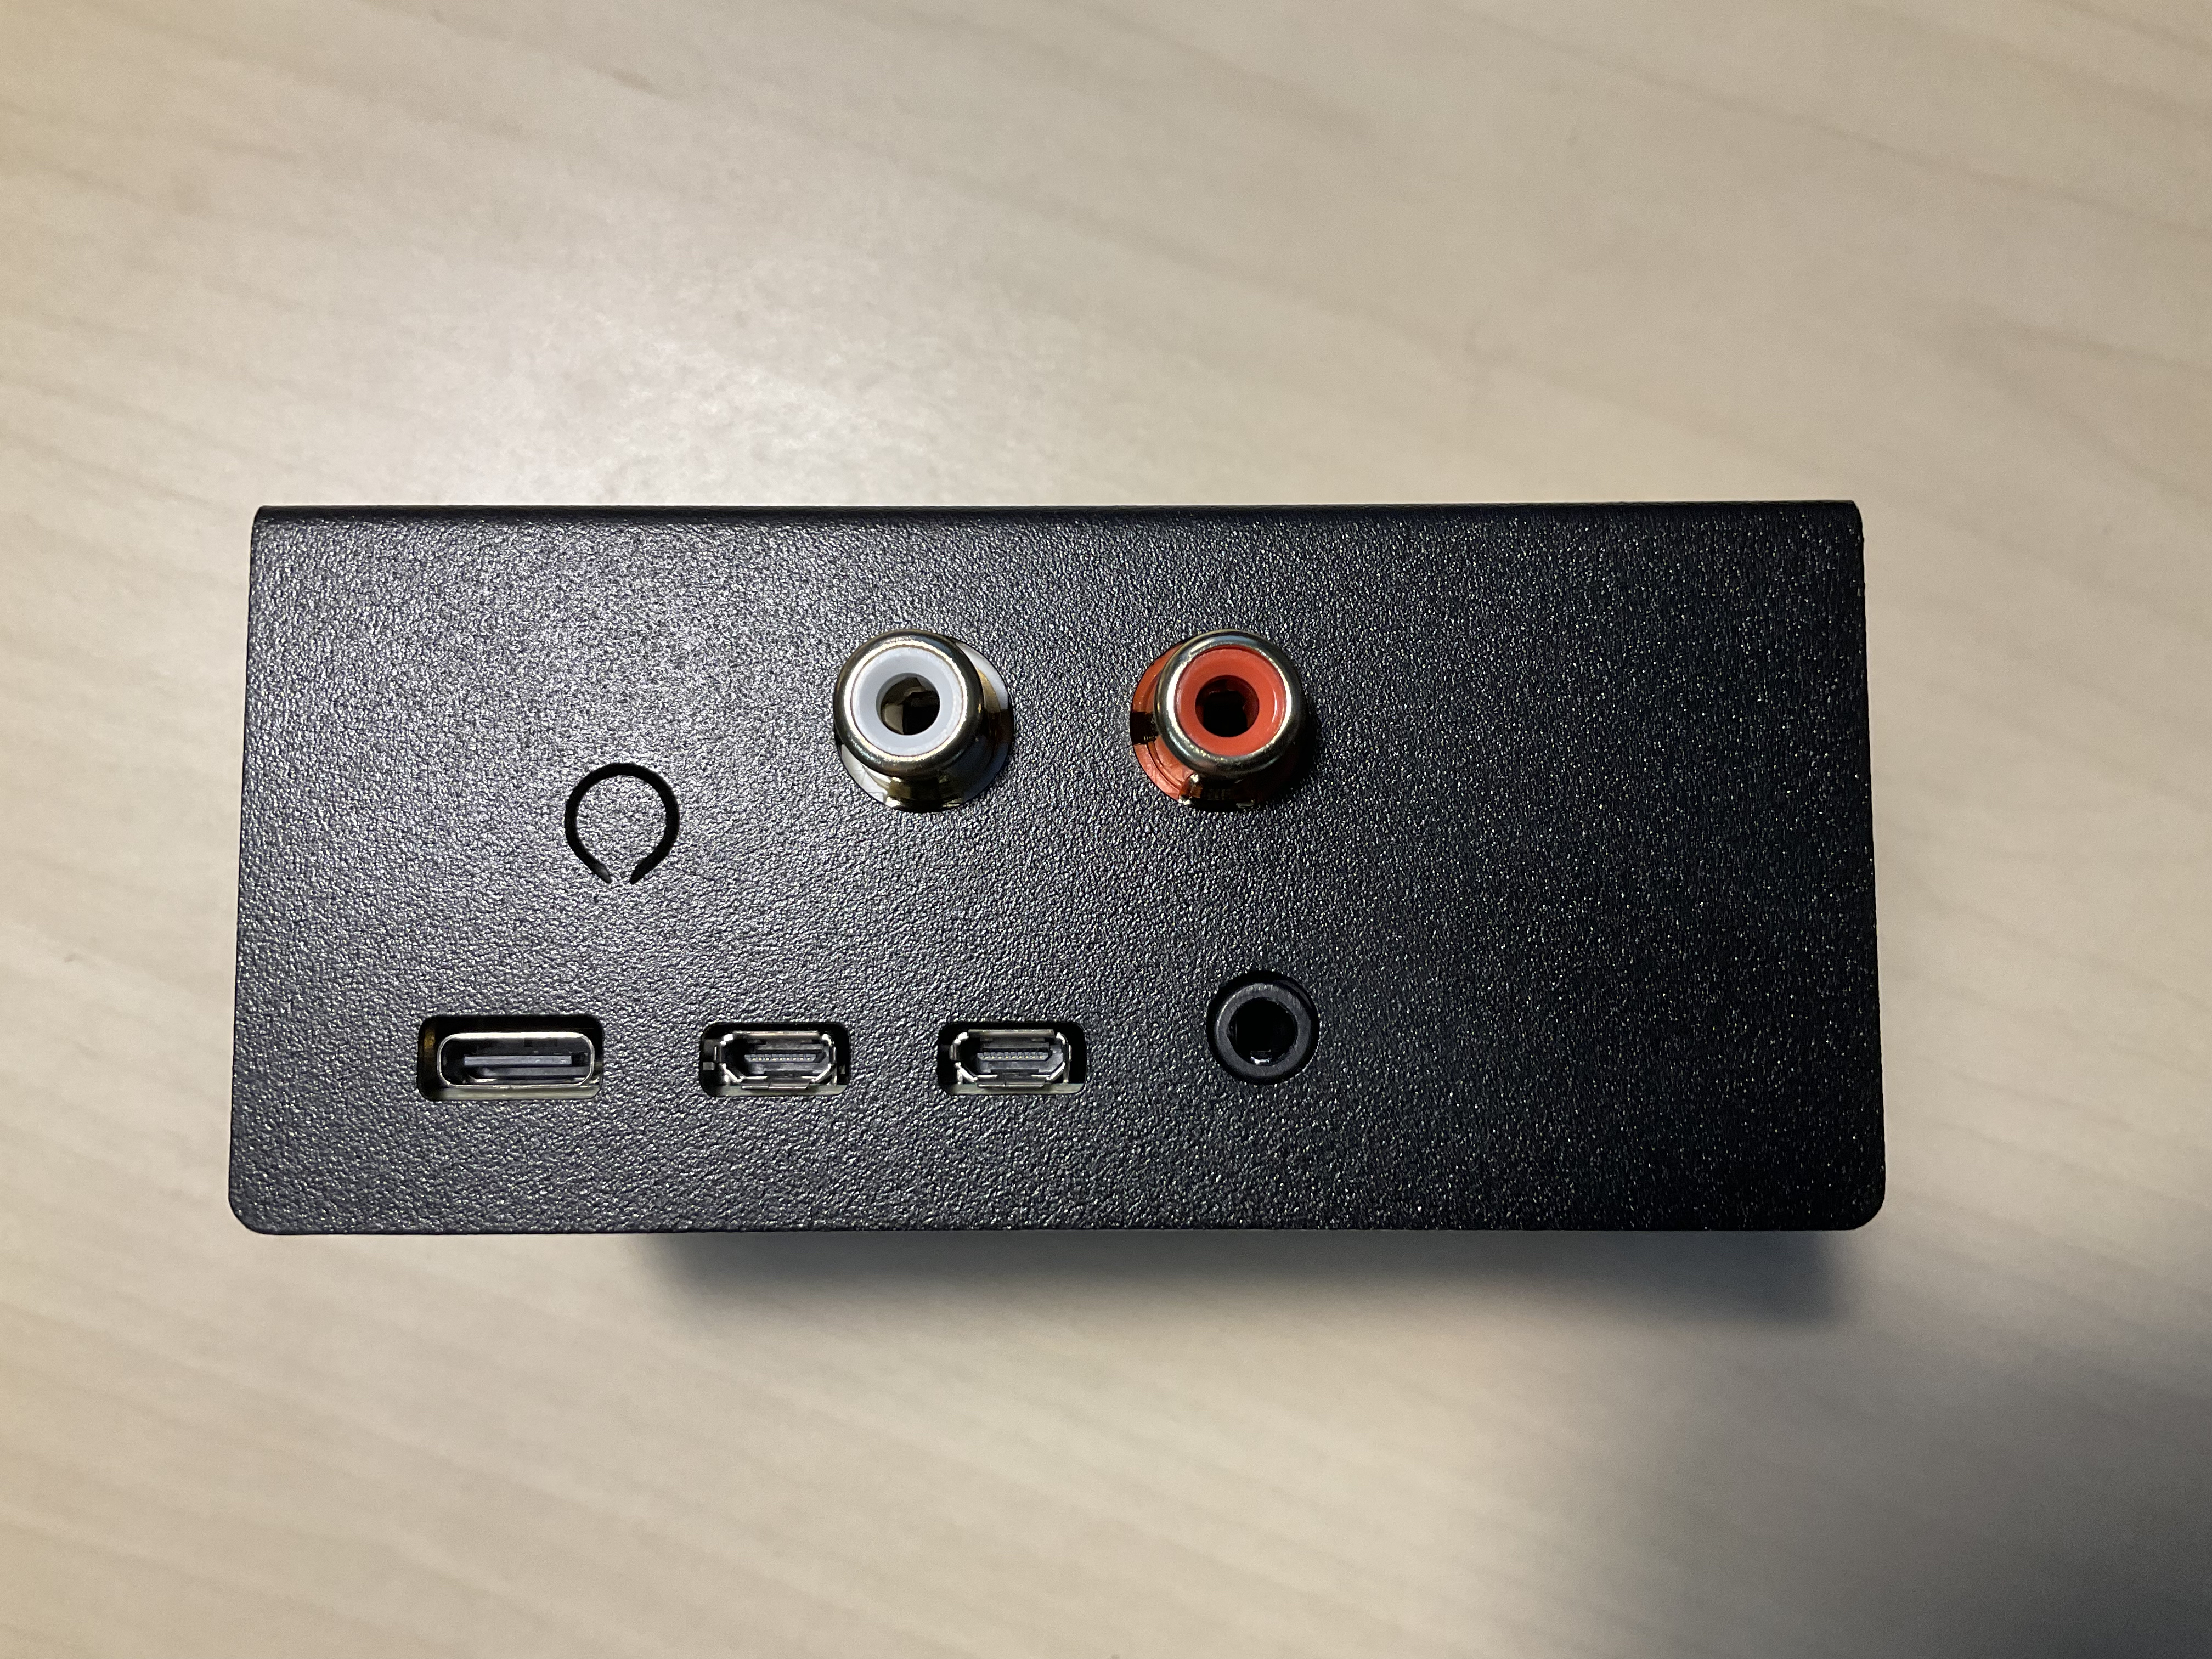
- Steel case V2
- 4pcs M2.5x11+6mm spacers (you can get these on Amazon or eBay)
- Heatsink (max 6mm) (optional; I installed these)
You’ll need the M2.5 screws and M2.5x20mm spacers that come with the case. (You won’t need the plastic spacers and screws that come with the DAC).
Finally, you’ll need a screwdriver for the M2.5 screws and I also recommend a pair of tweezers for installing the heat sink onto the board.
Overview
If you haven’t checked the official assembly guide yet I encourage you to do so. The overall process is the same and the guide comes with a few pictures that help with positioning the different components.
The general steps:
- Mount the Raspberry Pi to the base
- Install the heatsink onto the Raspberry Pi board (optional)
- Mount the spacers onto the hat
- Mount the hat onto the top of the case
- Snap both parts together
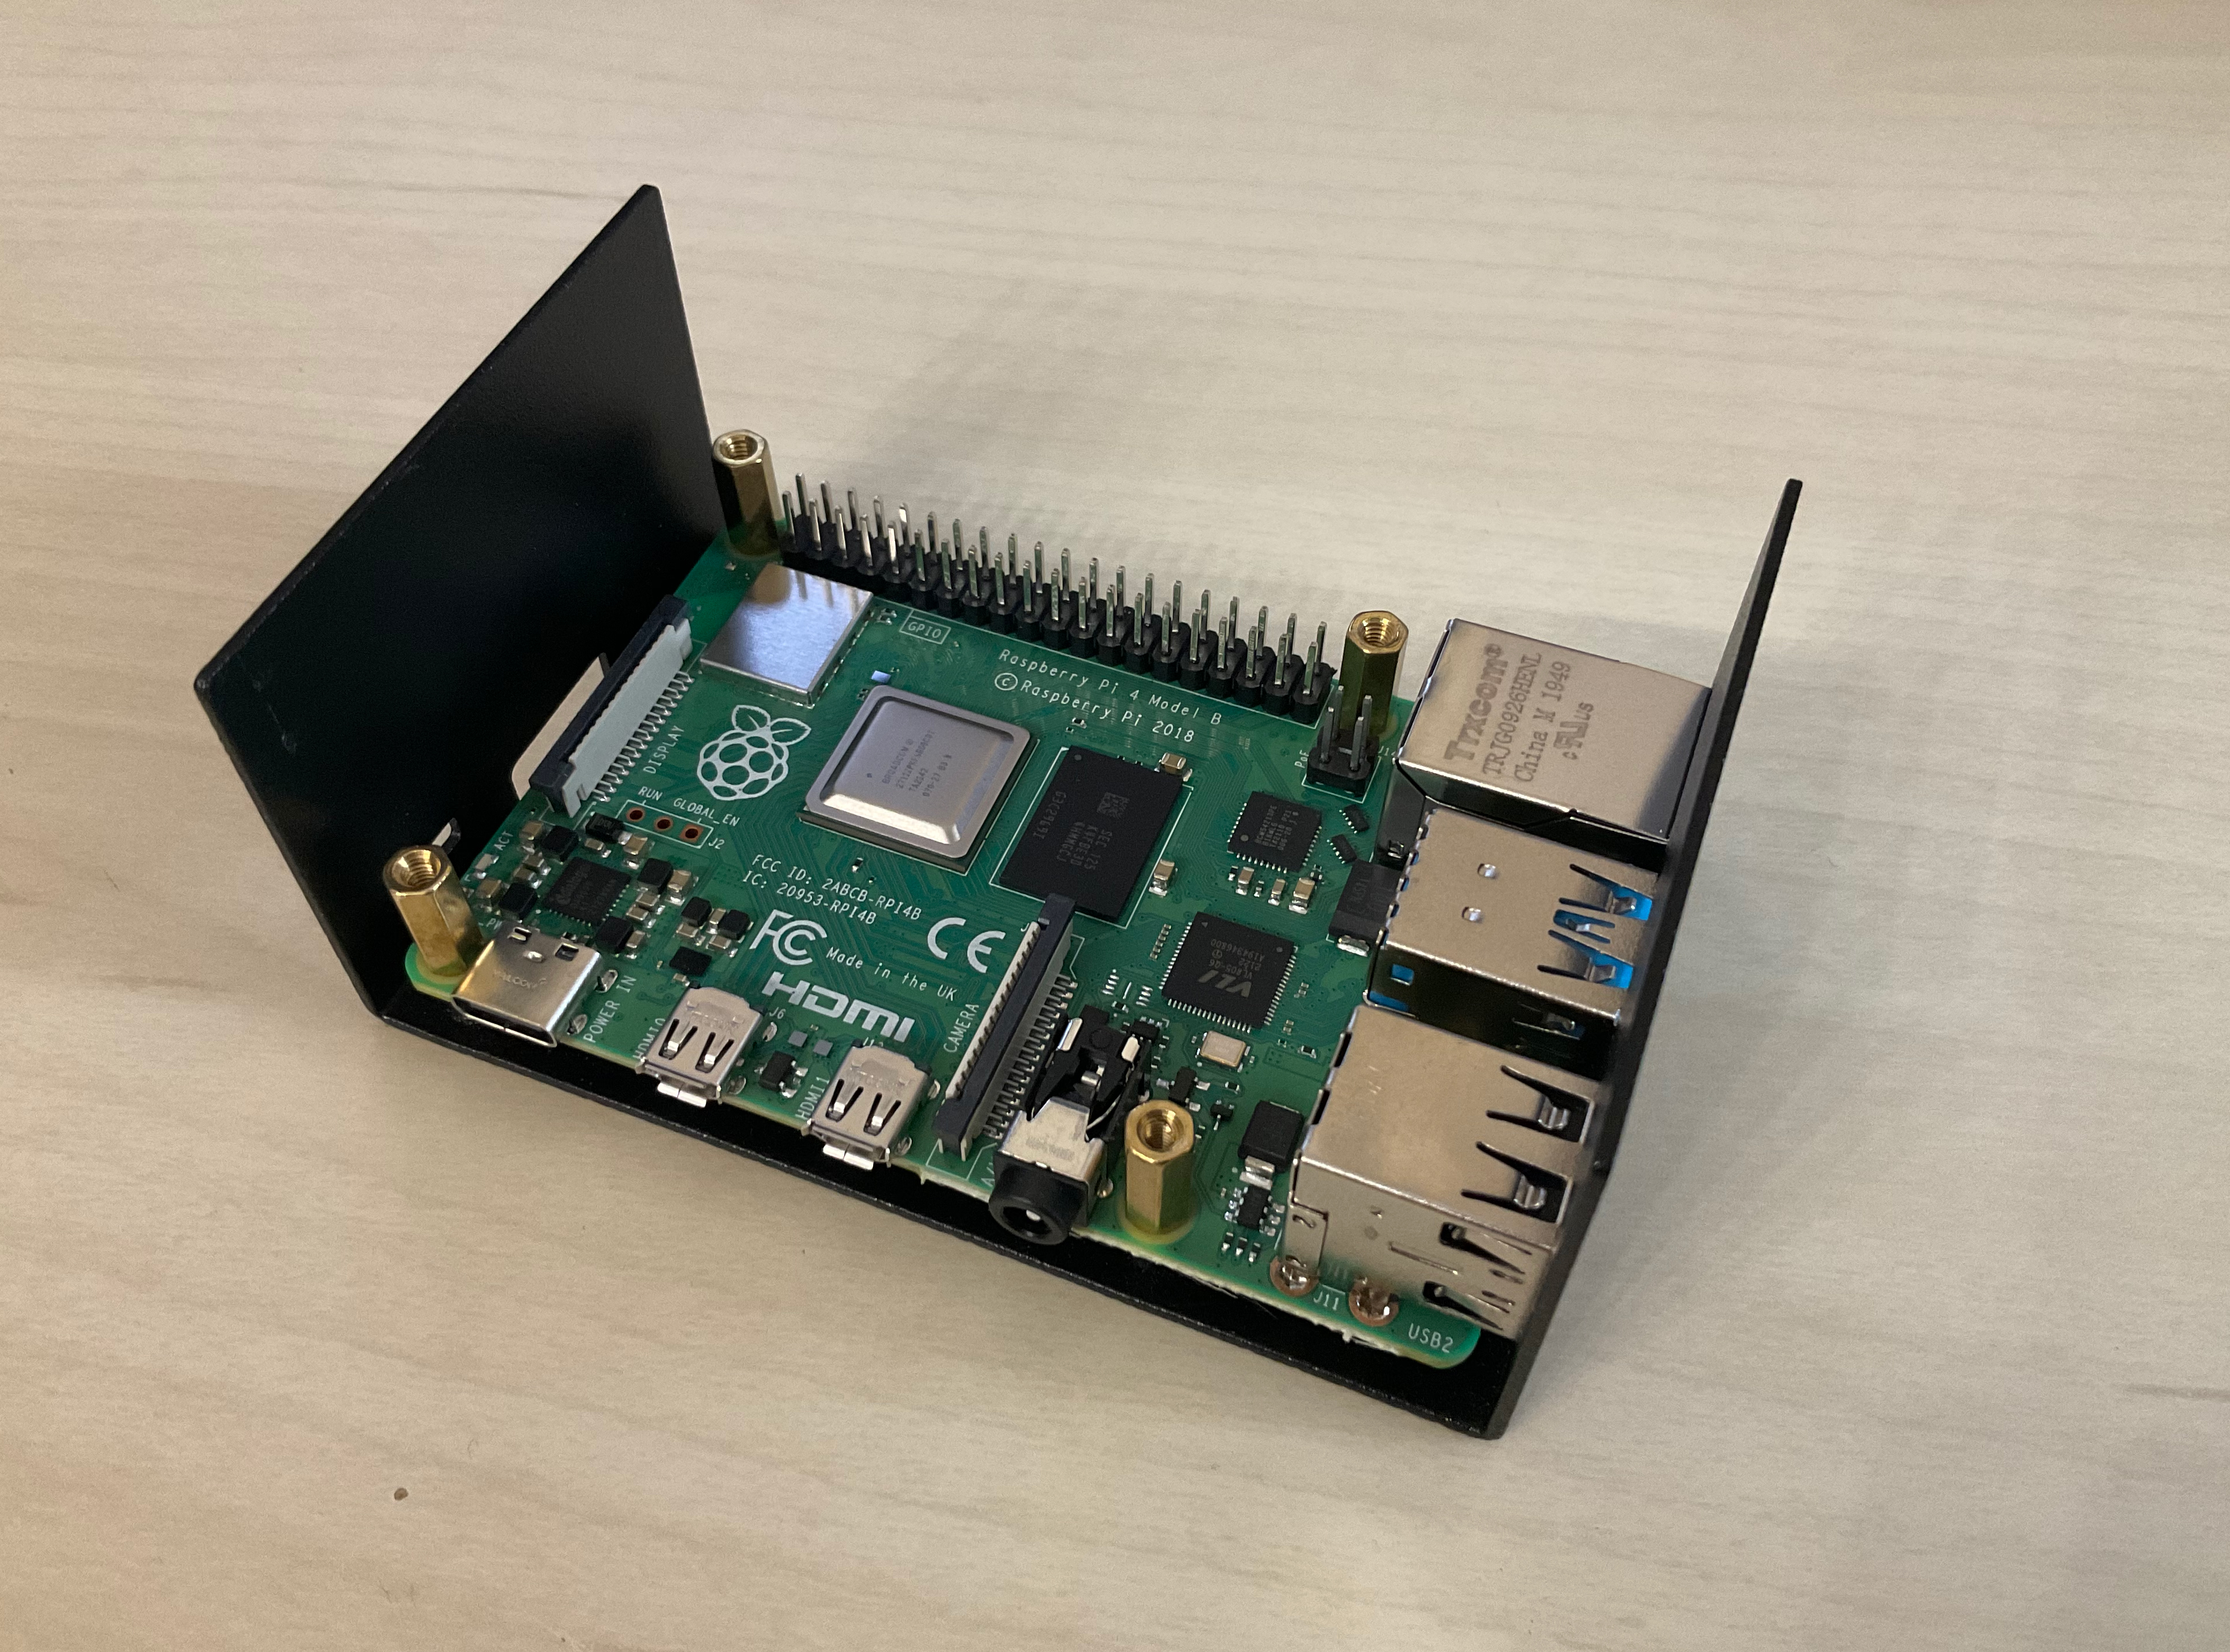
Step 1: Mount the Raspberry Pi to the base
The official guide tells you to mount the Raspberry Pi board to the base with the attached M2.5 screws. Although the hat itself is attached to the top of the case (in a later step), this setup results in the hat sitting on the GPIO pins without any additional support. That’s exactly the kind of thing that keeps me up at night, so I knew immediately I wanted to do something different.
Instead of using the attached screws, I decided to use spacers (M2.5x11+6MM) to mount the board to the base, providing additional support to the hat.
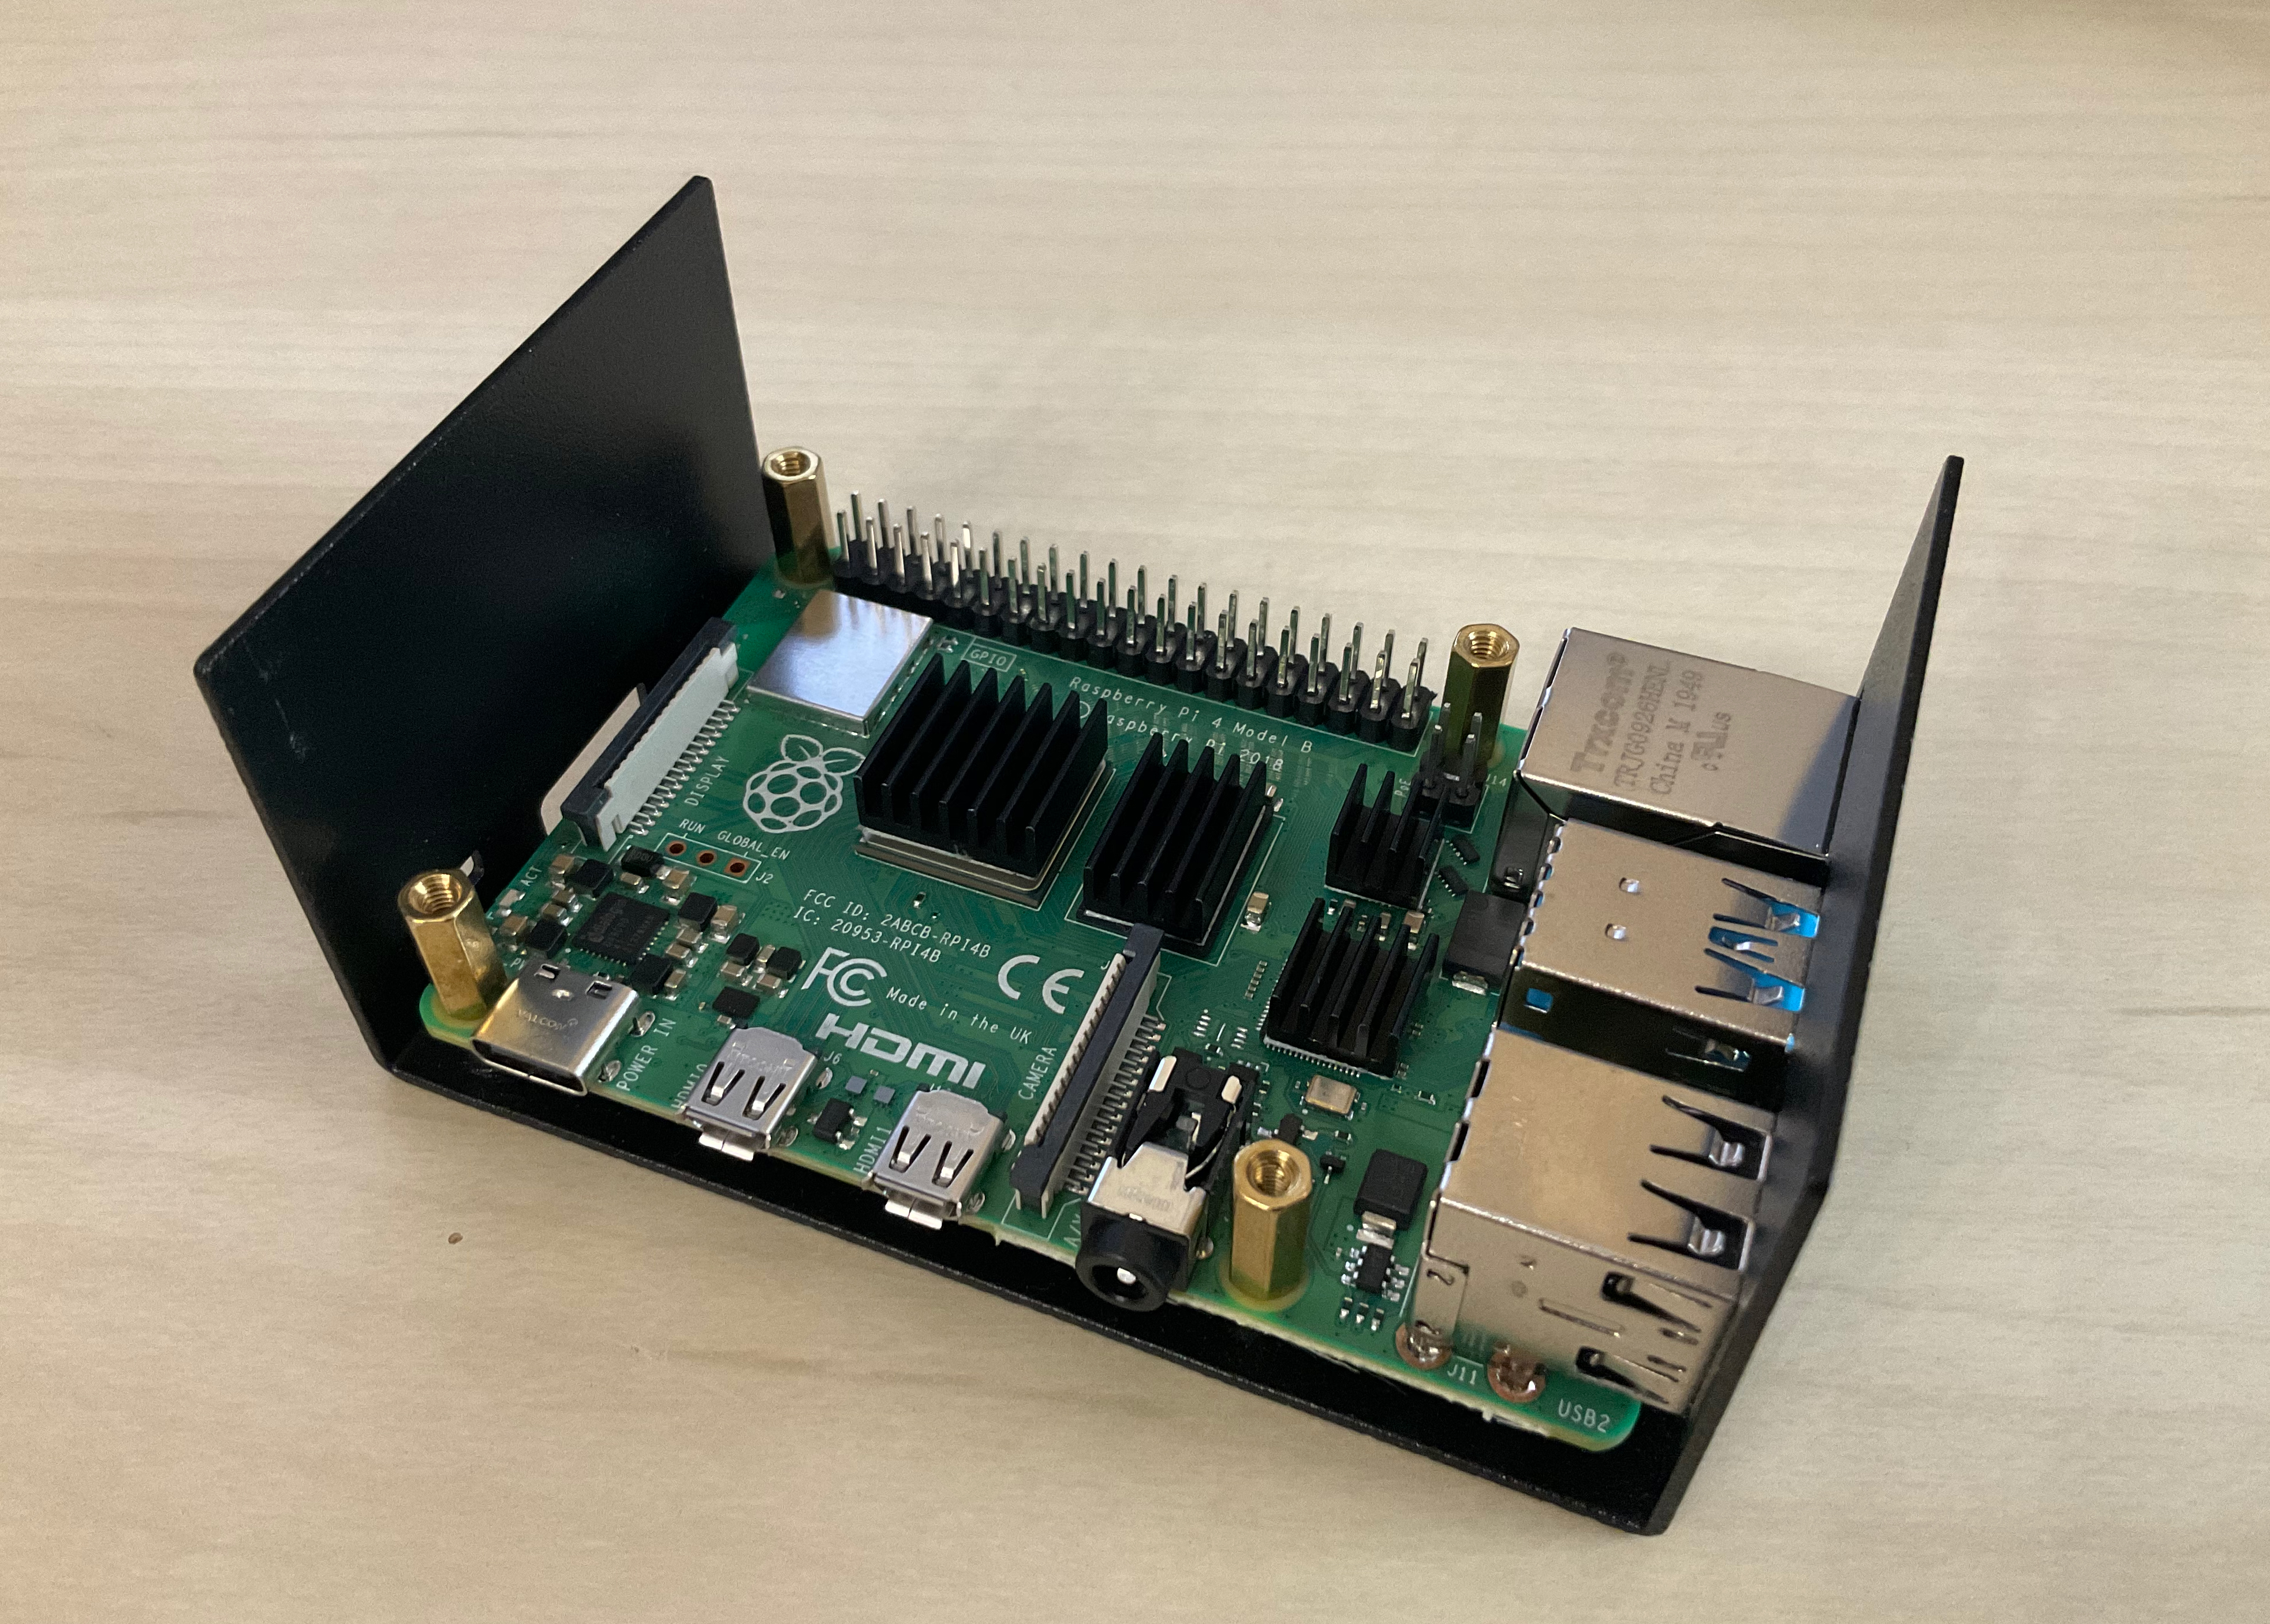
Step 2: Install the heatsink onto the Raspberry Pi board (optional)
The Raspberry Pi 4 is known to run hotter in CPU-intensive situations. Although audio use cases are often considered low-load use cases, the hat on top of the board makes heat dissipation harder, so I thought adding a couple of heatsinks can’t hurt.
I tried to look for information on the HiFiBerry forum whether heatsinks have any effect on the Pi or the DAC. The general consensus is that there is no need for additional cooling (the HiFiBerry team actually did some tests to back up these claims), but heatsinks that fit under the hat should work just fine (without any damaging effect to the hat).
I decided to install a couple of heatsinks (I can always remove them later). I installed a set I ordered from The Pi Hut, but any low-profile heatsink should be fine.
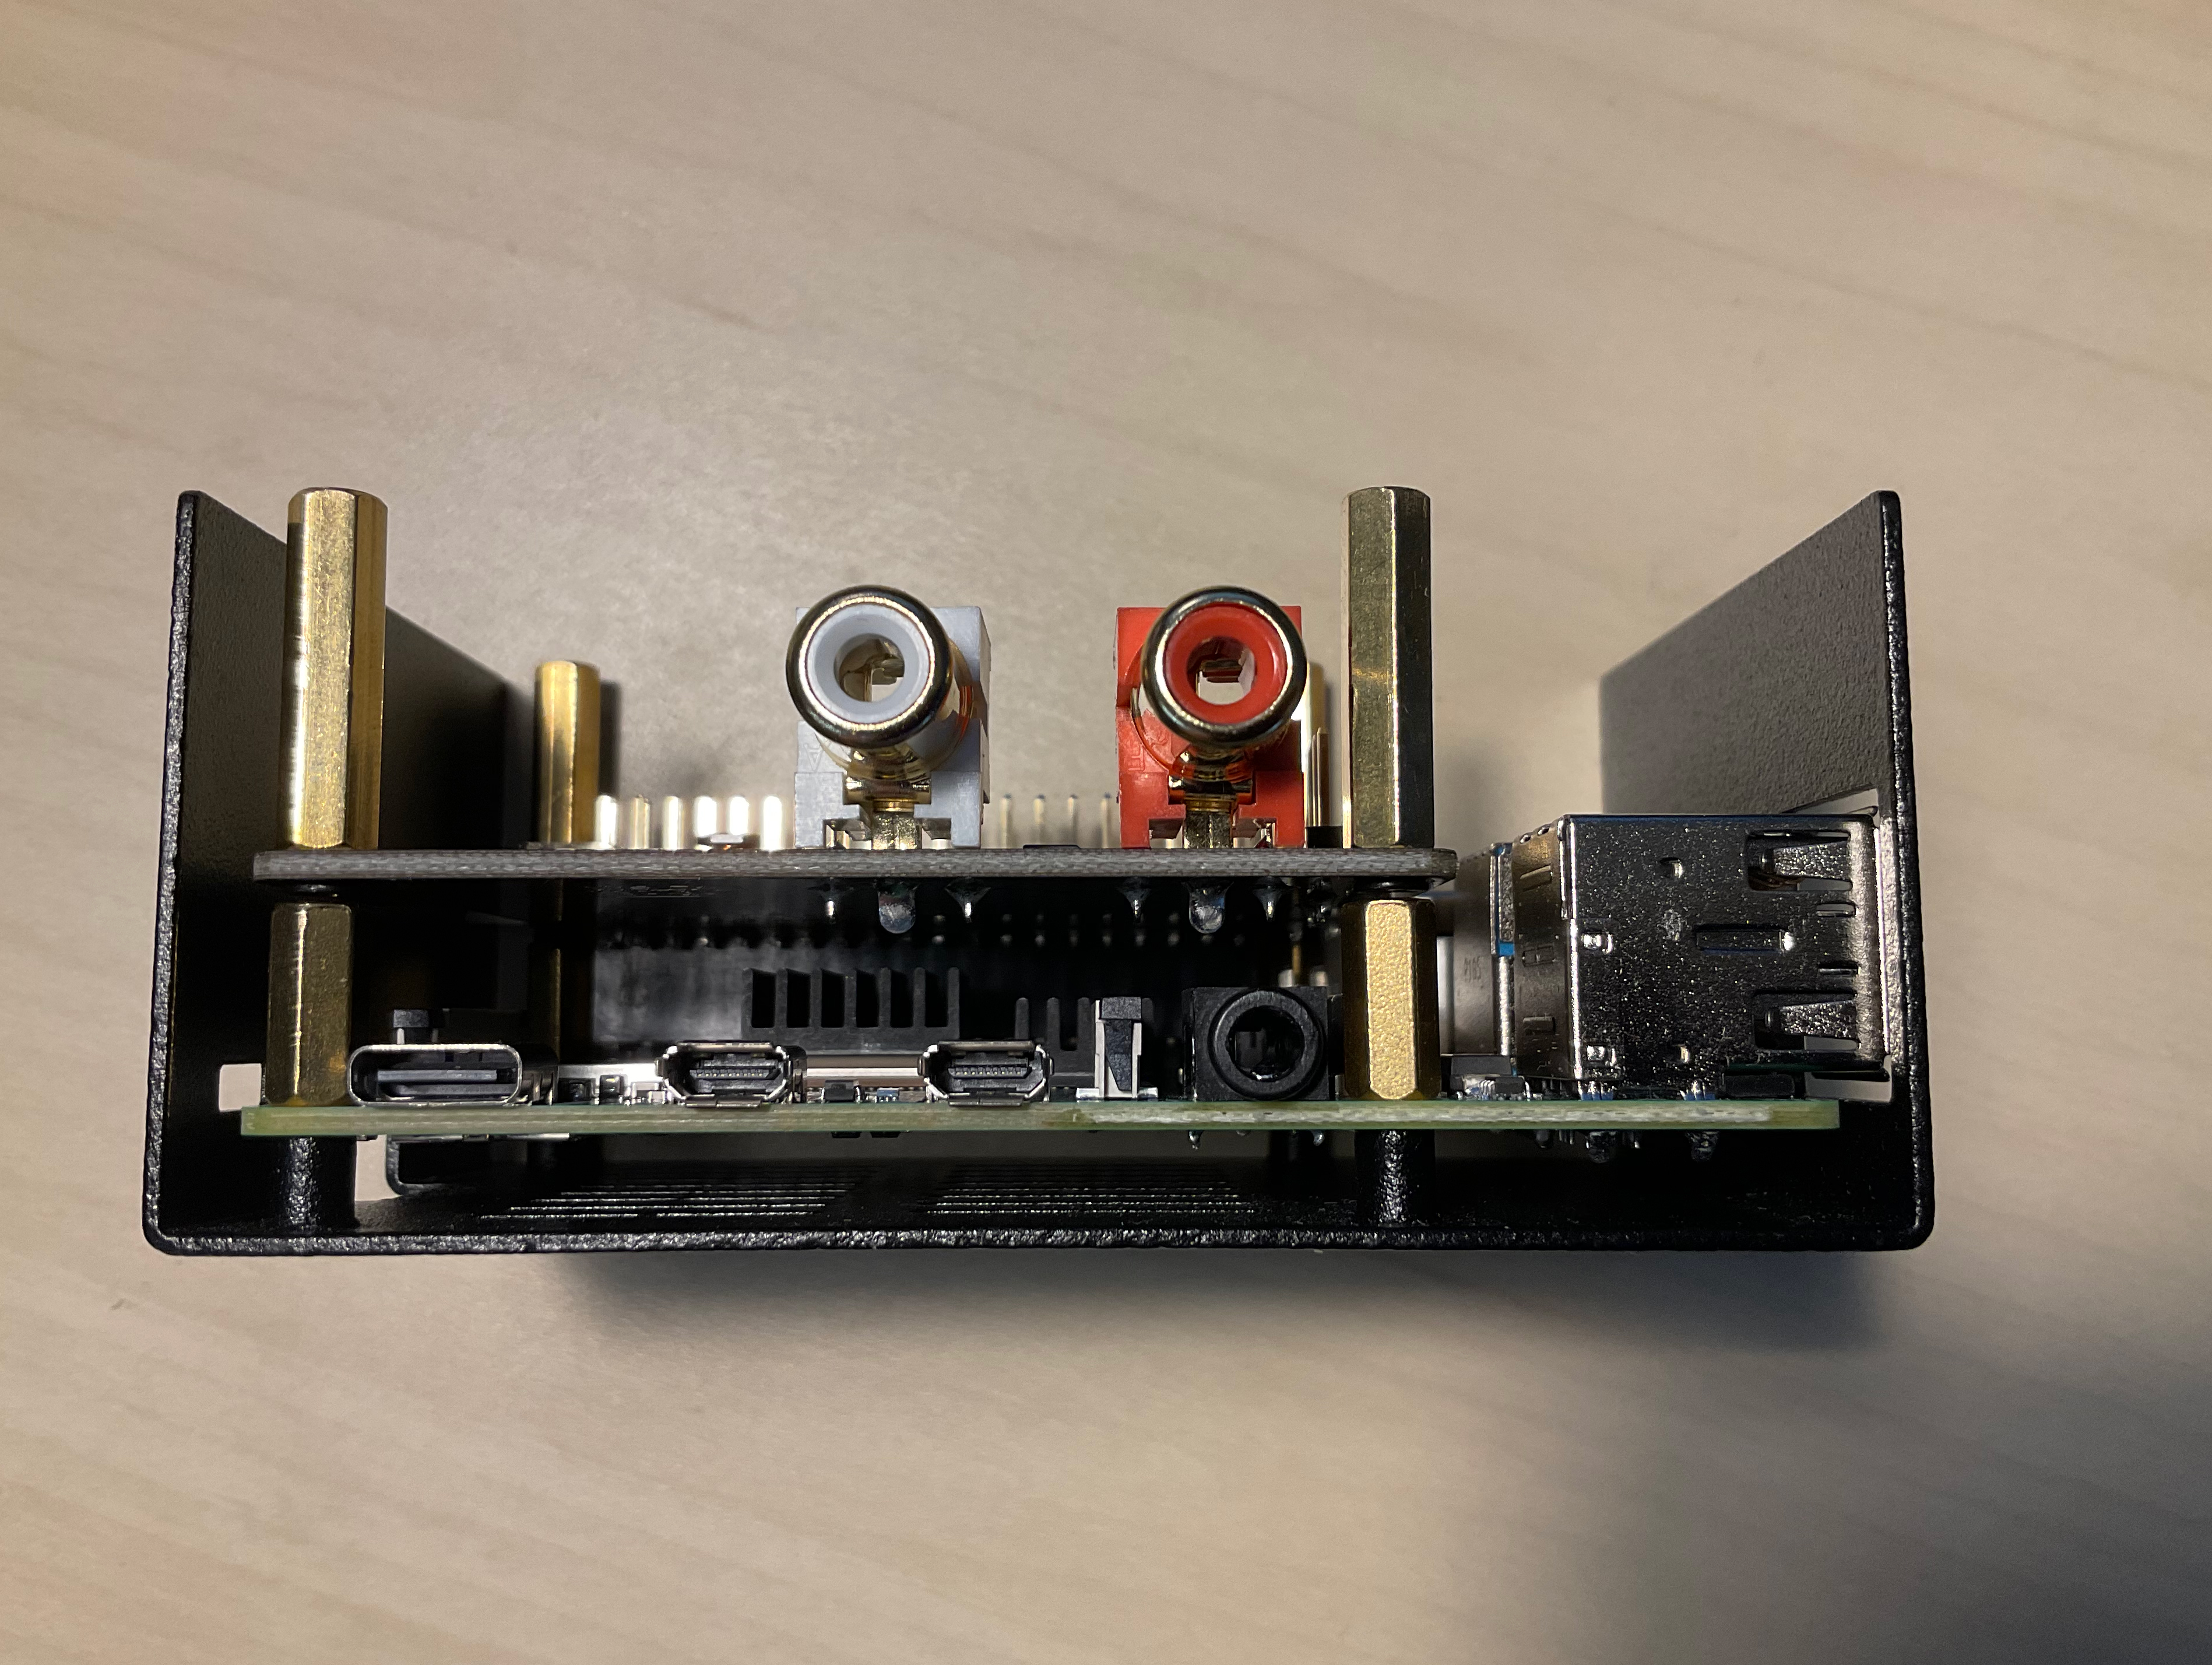
Step 3: Mount the spacers onto the hat
Mount the 20mm spacers (that came with the case) to the hat.
Important: Make sure to use flat head screws (should also be part of the package), otherwise the hat might not connect to the board correctly.
Once you are done with the assembly, mount the hat on the board to make sure the GPIO pins connect properly.
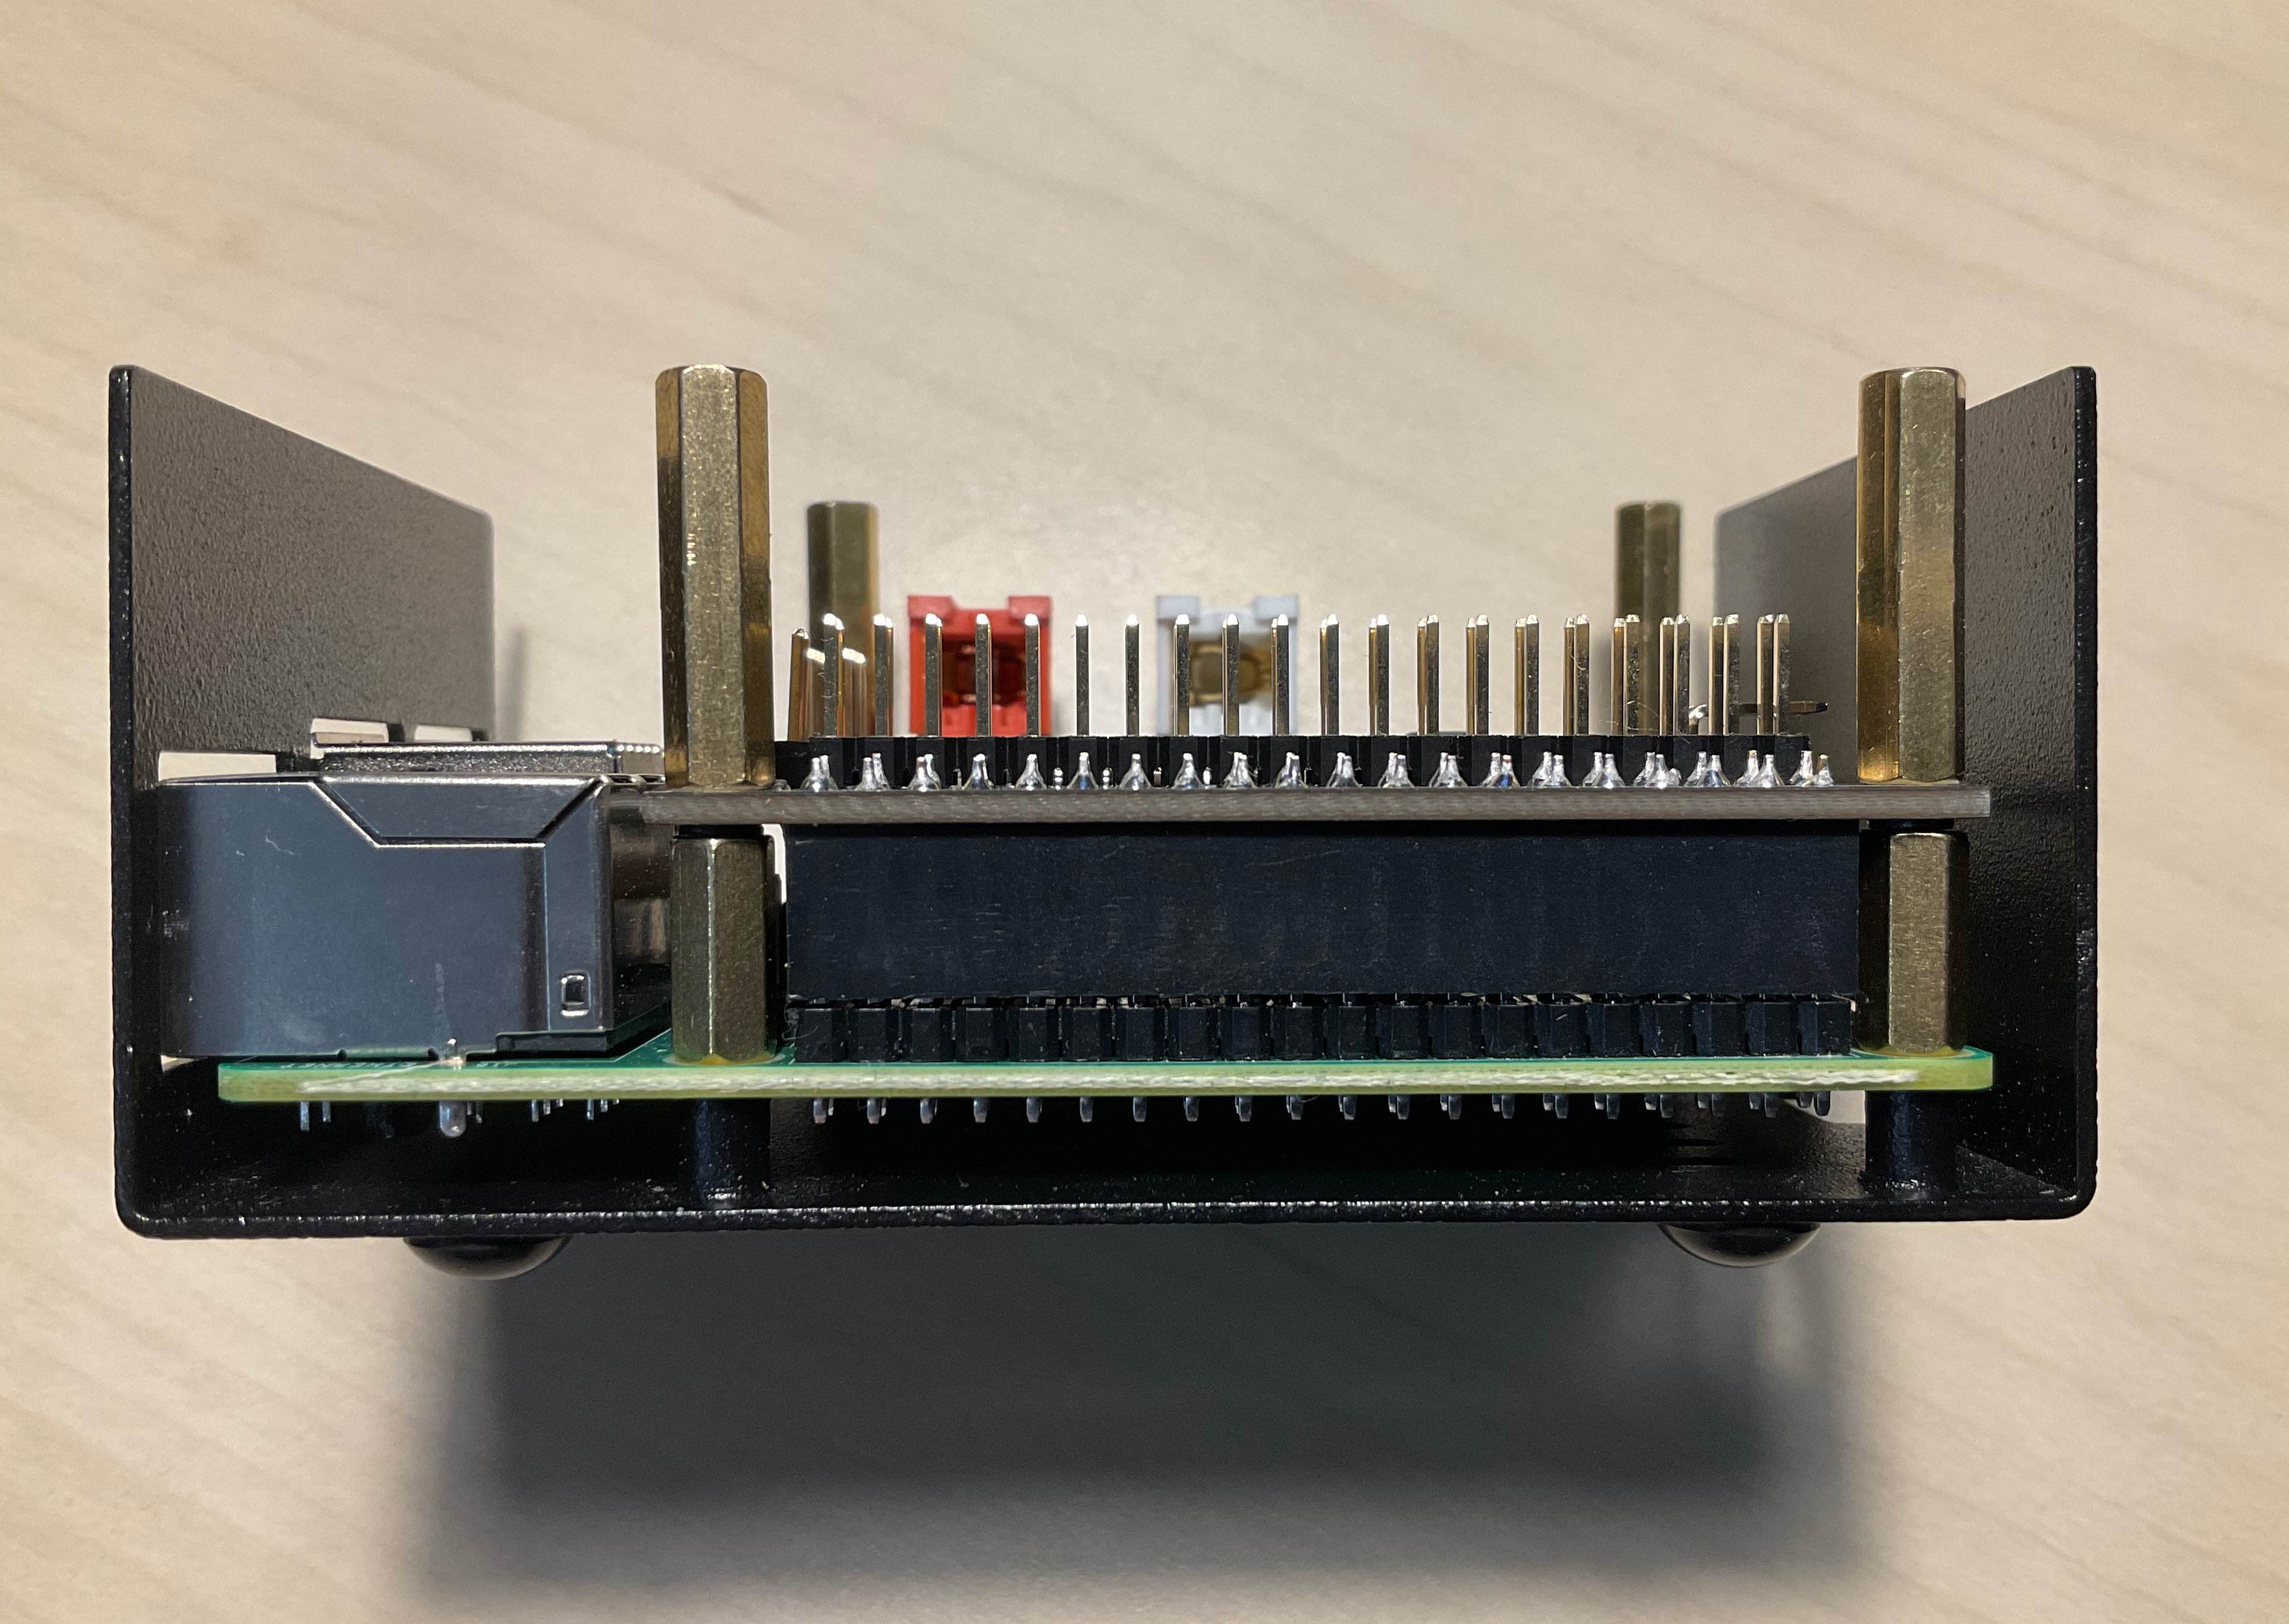
Step 4 and 5: Finish assembling the case
The rest of the steps should be identical to the ones in the official assembly guide:
- Mount the hat onto the top of the case
- Snap both parts together
Be extremely careful during the last step: there is no clear vision of the GPIO pins, so you have to “feel” if they are in the right position.
If you did everything right, the holes should be perfectly aligned with the ports on the board.
Conclusion
I haven’t had the chance to play with my new DAC yet, so I don’t have a ton of experience to share, but I’ll certainly sleep better at night thanks to the added spacers and heatsinks.
If anything comes up, I can still remove them if I want to.